BitLocker Forensics: Analysis, Live Mount, and New Image Export
With the rapid rise of digitalization today, cybersecurity has become critical not only for organizations but also for individuals. For an employee working from home, the sensitivity of the data on the computer is often more important than the value of the device itself. To address this need, Microsoft developed a solution called “BitLocker” that uses TPM technology to protect computers from unauthorized access and prevent our disks from being read by third parties. BitLocker verifies the disk’s encryption key with the TPM module during boot; if validation succeeds, the disk is unlocked and the operating system loads normally.
When a device is seized or a disk image is acquired for forensic purposes, the examination process differs from that of a device without BitLocker. An image taken from a BitLocker-encrypted disk cannot be analyzed unless it is unlocked using suitable tools. In Linux, the Dislocker utility offers an effective method to decrypt BitLocker disk images and transfer them into a new image.
If you’re not interested in the manual path, you can use my BitUnlocker tool that fully automates the steps below.
Let’s assume we have a RAW disk image. This image was captured from a disk where TPM is active and BitLocker is enabled.
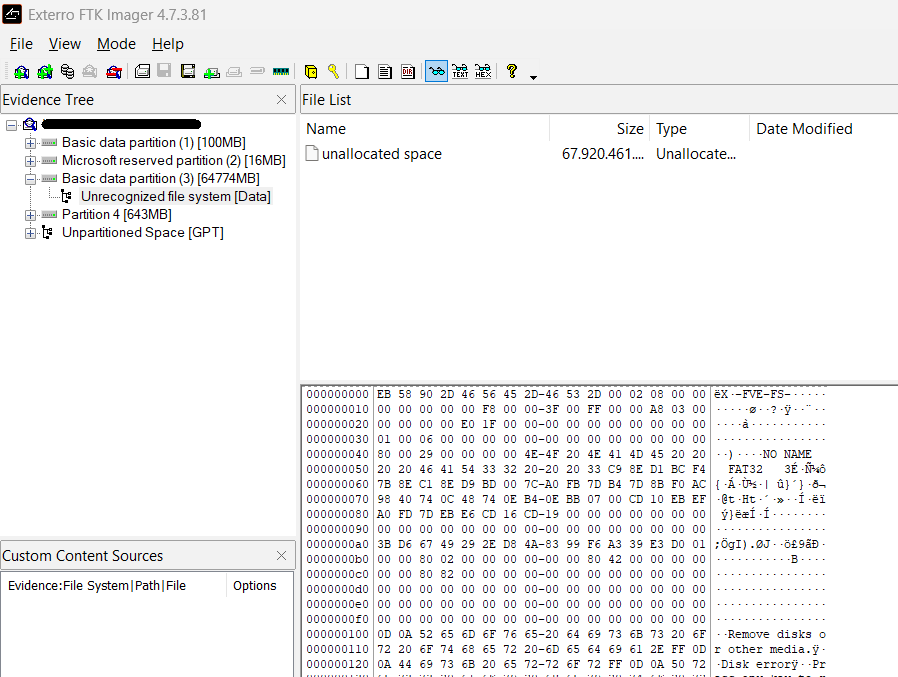
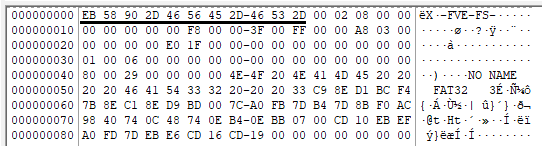
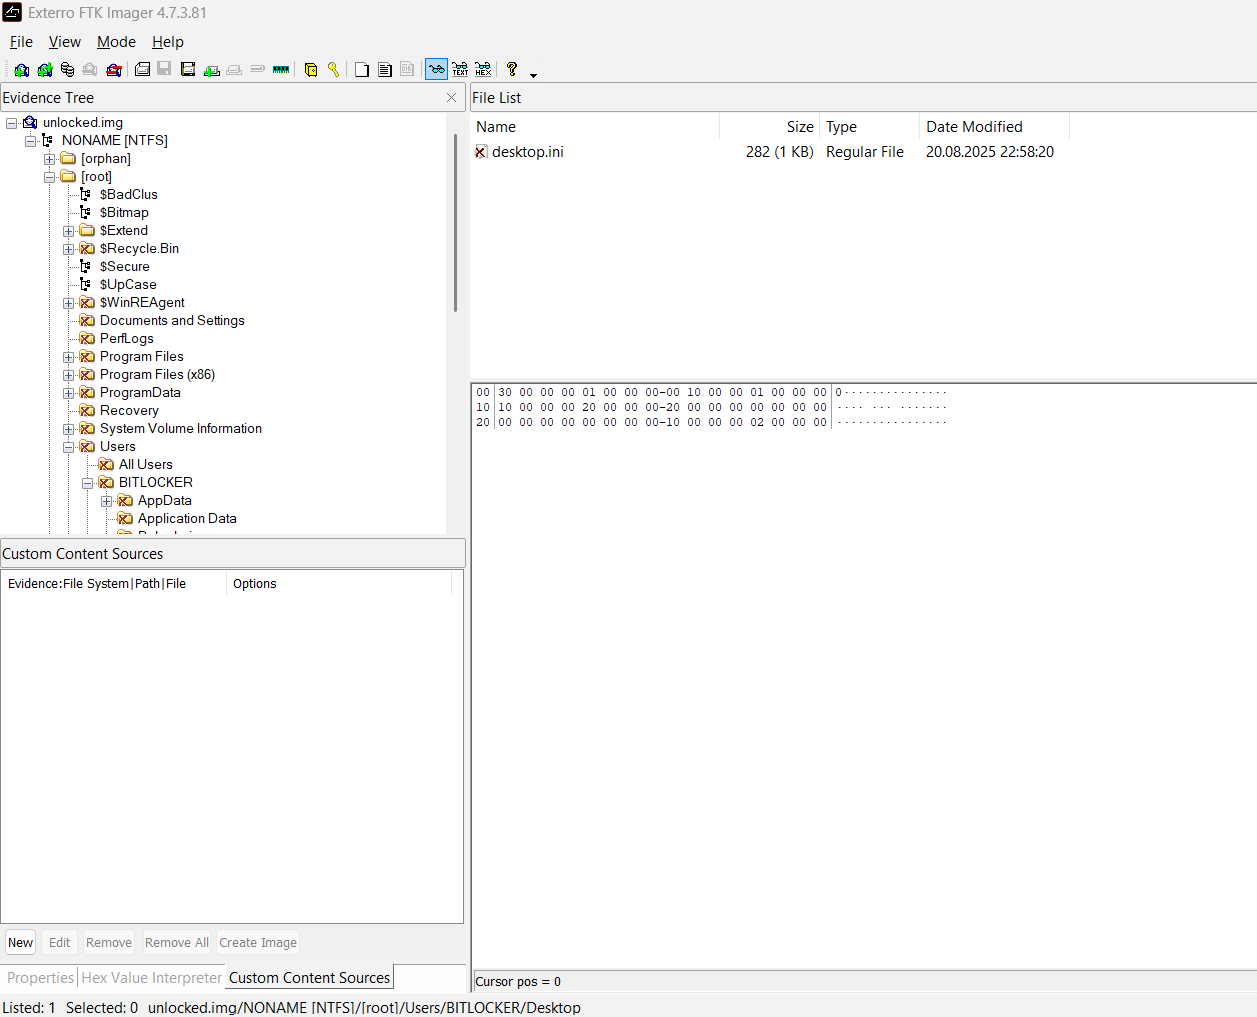
When we open the image with FTK Imager, system partitions may be displayed correctly, while the partition containing the actual data appears as “Unrecognized File System.” BitLocker-encrypted partitions have a signature that differs from standard NTFS partitions. A BitLocker-encrypted partition starts with the signature “eb 58 90 2d 46 56 45 2d 46 53 2d” (X-FVE-FS-).
To be able to analyze the image and prepare it for examination and export to a new image, we’ll need some tools in a Linux environment. We’ll use the command “losetup” to present the image to the system as if it were a disk attached to the filesystem.

losetup -r -fP --show BitlockerImage.img
The “-r” parameter mounts the image as read-only. Preventing any changes to data is critical during forensic examinations. The “-f” parameter selects the first free loop device to attach the image. The “-P” parameter scans the partitions inside the image and exposes them under the loop device. The command will output the loop device path used.
A disk image may contain multiple system and data partitions. Since BitLocker operates at the volume level, we must correctly identify which partition we’ll process. Partitions of type “Microsoft basic data” contain user data, and decryption is performed on these partitions.
We’ll use the tool “fdisk” to identify the partition we are going to work on.
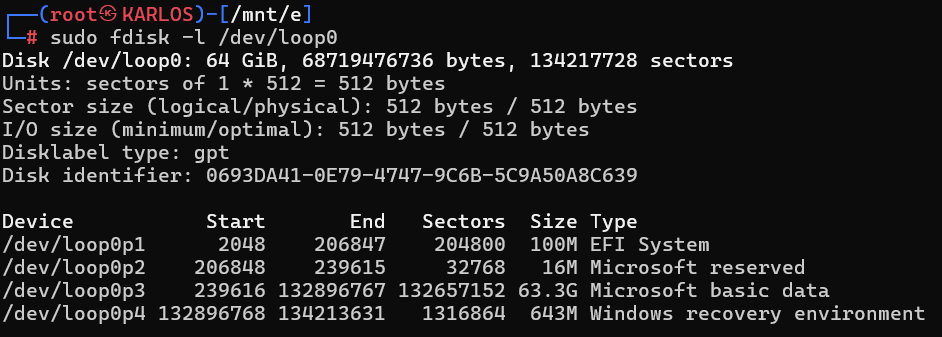
fdisk -l /dev/loop0
With the “-l” parameter, we provide the loop device path attached via losetup. This command lists the partitions inside the image in detail and helps us identify the one to process. A disk image may contain multiple data partitions encrypted with different BitLocker keys; this is entirely normal. The example image examined in this blog contains only a single data partition. For scenarios with two or more data partitions, the same steps apply verbatim.
We’ll proceed with the partition at the address “/dev/loop0p3” of type “Microsoft basic data.” To mount the unlocked disk data as read-only and make it visible as a new image, we need to create a new mount point.

mkdir -p /mnt/dislocker1
We’ve prepared the environment needed to process the image. Using the tool “Dislocker,” we’ll unlock our image with a Recovery Key or a User Key.
If we’re going to unlock an image with a Recovery Key:
dislocker -V /dev/loop0p3 -pxxxxxx-xxxxxx-xxxxxx-xxxxxx-xxxxxx-xxxxxx-xxxxxx -- /mnt/dislocker1
Points to pay attention to here: provide the correct partition loop address to the -V parameter; provide the disk’s Recovery Key with -p as a single, contiguous value; and provide the mount path correctly.
If we’re going to unlock an image with a User Key:
dislocker -V /dev/loop0p3 -uxxxxxx-xxxxxx-xxxxxx-xxxxxx-xxxxxx-xxxxxx-xxxxxx -- /mnt/dislocker1
Points to pay attention to here: provide the correct partition loop address to the -V parameter; provide the disk’s User Key with -u as a single, contiguous value; and provide the mount path correctly.
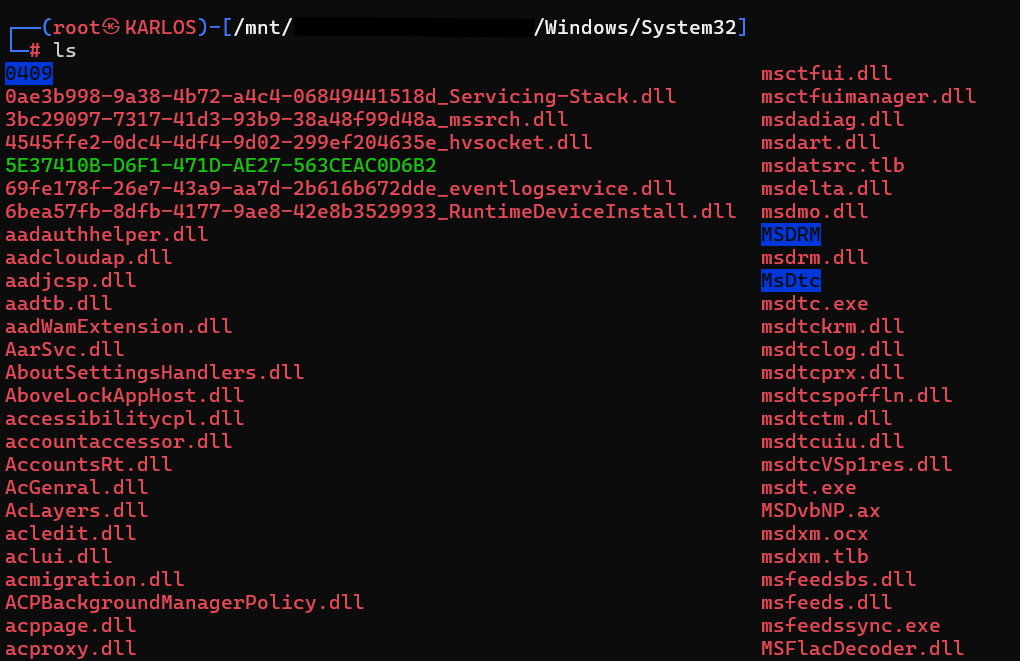
At this stage, if you prefer to mount and examine the image and copy files out of it instead of exporting a new image, you can use the command “mount.” If you plan to export a new image and examine it fully, you can skip this step.
mkdir -p /mnt/dislocker_unlocked
We’re creating a new mount point.
mount -t ntfs-3g -o loop,ro "/mnt/dislocker1/dislocker-file" "/mnt/dislocker_unlocked"
If you’re going to work with a live mount, when your tasks are complete you can finish by using the command losetup -D and cleaning up the directories under /mnt/.
To export the unlocked image into a new image file, we’ll use the command “dd.” The parameters we’ll use vary depending on the type of the device to which the image is attached. To acquire the image safely and as efficiently as possible, we’ll tune the parameters accordingly.

dd if=/mnt/dislocker1/dislocker-file of=UnlockedImage.img bs=64K status=progress conv=fsync
When using this command, the parameter “if” specifies the location of the image we will read; “of” specifies where the new image will be written; “bs” specifies the block size used during the transfer (we’ll touch on this below); “status” enables progress display; and most importantly, “conv=fsync” ensures that data is flushed to disk on each write instead of being buffered in memory. It’s used to reduce the risk of data loss.
In the table below, you can find the recommended block sizes for optimal speed depending on the type of device the image is attached to. Adjust your command accordingly.
"USB HDD="4M"
"SATA HDD="8M"
"USB SSD="1M"
"SATA SSD="2M"
"USB NVME="4M"
"SATA NVME="8M"
For a USB HDD, the estimated duration to process the 64 GB image shown in the screenshot is approximately 78 minutes.
64 GB = 64 × 1024 MB = 65536 MB
Time (seconds) = 65536 ÷ 14 ≈ 4681 s
Time (minutes) = 4681 ÷ 60 ≈ 78 min
As a result, you can start examining the resulting image file as you wish.
To automate all these steps, you can use my BitUnlocker tool.
If you have any questions, you can reach me via LinkedIn.